What Are the Top 10 DIY Home Repair Projects You Can Tackle This Weekend?
Embarking on do-it-yourself (DIY) home repair projects can be both rewarding and cost-effective. Whether you’re an experienced handyman or a novice eager to enhance your living space, selecting manageable tasks is essential. This guide highlights the top 10 DIY projects you can undertake over a weekend, offering practical tips grounded in efficiency and safety.
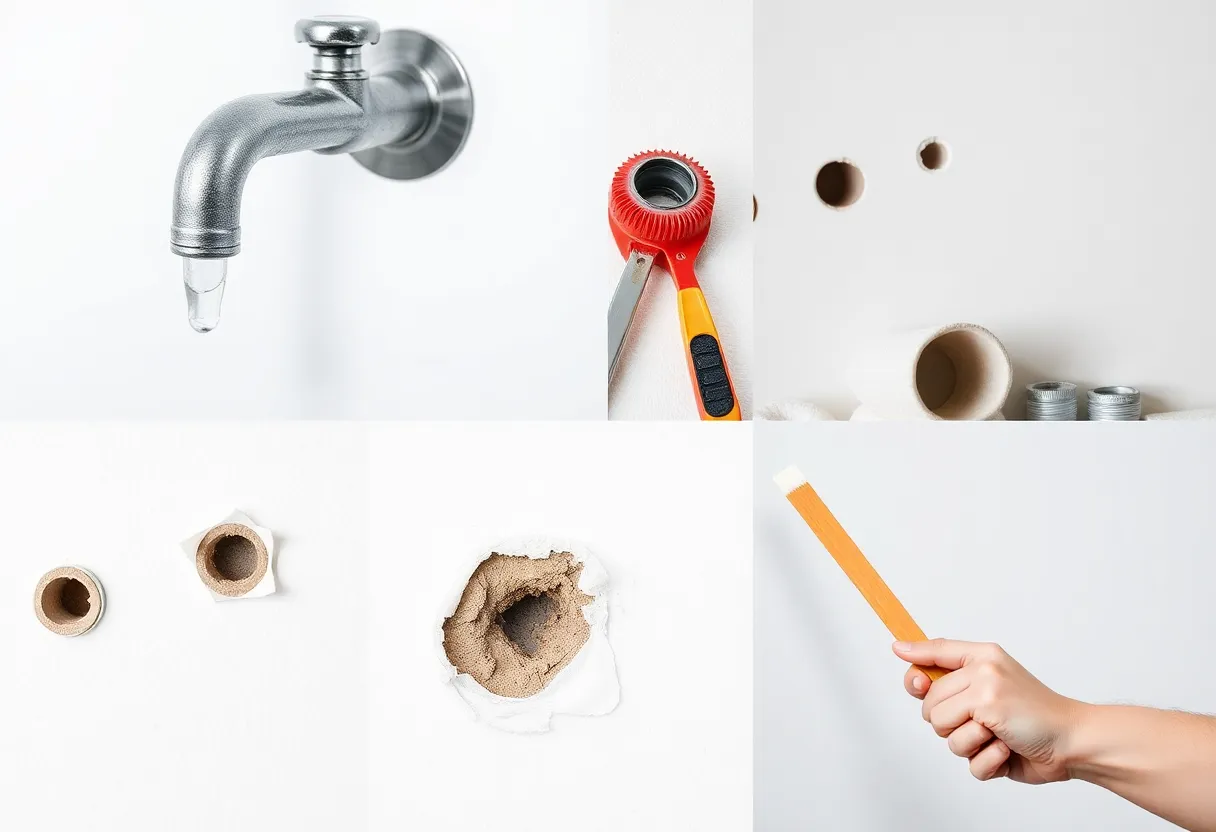
1. Fixing Leaky Faucets
Why tackle this?
A dripping faucet wastes water and increases utility bills. Addressing this issue quickly prevents further damage and saves money.
Steps to accomplish
- Turn off the water supply beneath the sink
- Remove the faucet handle and inspect the washer or cartridge
- Replace worn-out parts with compatible replacements
- Reassemble and test for leaks
Tools and materials needed
- Adjustable wrench
- Screwdrivers
- Replacement washers or cartridges
- Plumber’s grease
2. Patching Small Wall Holes
Importance of timely repair
Small holes from nails, screws, or hooks compromise wall integrity and aesthetics. Quick fixes maintain the room’s appearance and prevent further damage.
Procedure
- Sand the edges of the hole for a smooth surface
- Apply a patching compound or spackle with a putty knife
- Sand once dry to achieve a flat surface
- Paint to match the surrounding wall
Materials required
- Patching compound or spackle
- Putty knife
- Sandpaper
- Matching wall paint
3. Replacing Cabinet Hardware
Enhance functionality and look
Swapping out outdated or damaged knobs and pulls enhances the kitchen or bathroom appearance, with minimal effort and cost.
Step-by-step process
- Remove existing hardware with a screwdriver
- Measure the distance between screw holes for compatibility
- Install new hardware following manufacturer instructions
Tools and materials
- Screwdriver
- New cabinet hardware
- Measuring tape
4. Re-Caulking Bathrooms and Kitchens
Why replace caulk?
Old or moldy caulk allows water seepage, leading to damage and mold growth. Fresh caulk maintains a clean, dry environment.
Application process
- Remove old caulk using a utility knife or caulk remover
- Clean the surface thoroughly and ensure it dries completely
- Apply new, even bead of caulk with a caulking gun
- Smooth with a wet finger or caulk finishing tool
Materials required
- Silicone or acrylic caulk
- Utility knife or caulk remover
- Rubbing alcohol for cleaning
5. Installing Shelf Supports or Brackets
Organize and utilize space
Adding shelves maximizes storage and keeps belongings accessible. Proper installation ensures safety and durability.
Steps to follow
- Locate wall studs for optimal support
- Mark desired shelf position
- Drill pilot holes into studs
- Install brackets or supports with appropriate anchors or screws
- Place shelves securely onto brackets
Tools and materials
- Drill and bits
- Level
- Shelf brackets/supports
- Shelves (wood or composite)
- Wall anchors (if needed)
6. Repairing Minor Carpet Burns or Cigarette Damage
Restore appearance
Small burns or stains can be discreetly repaired, preserving the carpet’s overall look without a full replacement.
Repair method
- Trim away singed fibers carefully
- Thin layer of matching carpet adhesive or patching material
- Place a small piece of matching carpet under or over the affected area, secured with adhesive
- Blot and flatten to blend with surrounding fibers
Supplies needed
- Carpet adhesive
- Matching carpet remnant or fiber filler
- Utility scissors
7. Replacing Light Switches or Dimmer Controls
Improve safety and lighting control
Upgrading outdated switches enhances safety, provides better control, and can improve energy efficiency.
Installation steps
- Turn off the power at the breaker box
- Remove the faceplate and switch cover
- Unscrew and disconnect the old switch
- Connect the new switch wires following manufacturer instructions
- Attach the switch, replace the cover, and restore power
Tools and materials
- Screwdriver
- Voltage tester
- New switch or dimmer
- Wire stripper
8. Painting or Touching Up Walls
Refresh your space
A fresh coat of paint can dramatically change a room’s ambiance. Focus on small touch-ups to cover scratches or marks.
Application tips
- Prep the surface by cleaning and sanding if necessary
- Use painter’s tape to protect trim and edges
- Apply primer if needed, especially on new or repaired drywall
- Use quality brushes or rollers for a smooth finish
- Multiple thin coats yield the best results
Materials needed
- Paint suitable for interior walls
- Painter’s tape
- Brushes and rollers
- Drop cloths to protect floors and furniture
9. Cleaning and Sealing Decks or Patios
Maintain outdoor surfaces
This project rejuvenates outdoor areas, extending their lifespan while maintaining visual appeal.
Steps involved
- Sweep surfaces to remove debris
- Use a power washer or scrubber with deck cleaner for deep cleaning
- Allow surfaces to dry thoroughly
- Apply sealant according to manufacturer instructions
Tools and materials
- Power washer or garden scrub brush
- Deck or concrete cleaner
- Sealant or protective coating suitable for your surface
- Paint roller or sprayer (for sealant application)
10. Installing or Fixing Backsplashes
Enhance kitchen or bathroom aesthetic
A well-installed backsplash protects walls from water and stains while adding style. Fixing or updating it is a manageable project for the weekend.
Procedure
- Remove old or damaged tiles if necessary
- Plan layout and measure tiles for cuts
- Apply tile adhesive to wall surfaces
- Press tiles into place, maintaining consistent grout lines
- Allow adhesive to set before grouting between tiles
- Clean excess grout and seal the surface if needed
Tools and materials
- Tile cutter or wet saw
- Tile adhesive or mortar
- Grout and sealer
- Trowel and spacers
Conclusion
Spending a weekend on these DIY home repair projects can lead to tangible improvements. Prioritize projects based on immediate needs and skill level. Focus on safety by turning off power or water when necessary. Invest in quality tools and materials to ensure durability. Regular, small maintenance tasks preserve the home’s value and prevent costly repairs.
Approaching home repairs with a systematic plan elevates your confidence and competence. Remember, meticulous preparation combined with patience yields the best results. By completing these top 10 projects, you’ll not only boost your home’s functionality and aesthetic appeal but also develop valuable DIY skills for future endeavors.